When Edges Fail First: A Field Guide to Block Paving Restraint Problems
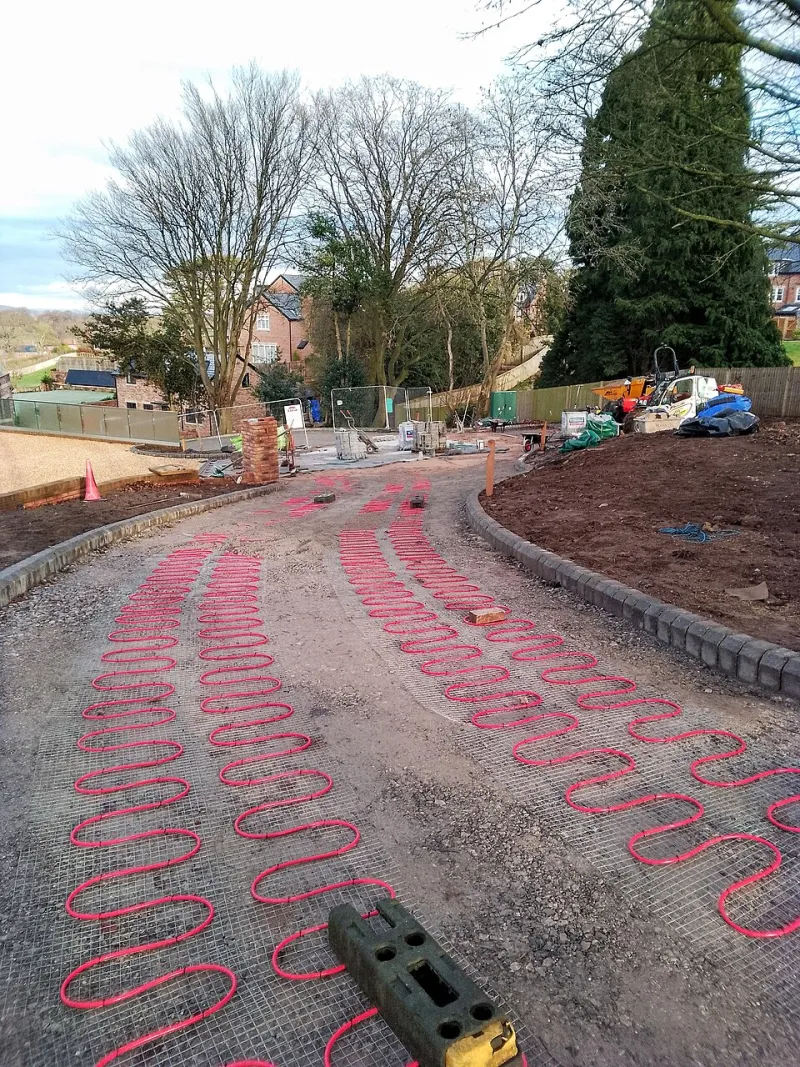
Photo: Bugsybanana, CC BY-SA 4.0, via Wikimedia Commons
Most block paving failures do not begin in the middle of the drive. They start at the edge, where the paving meets soil, a wall, a lawn or fresh air. From the pavement you can often see the early signs: a soldier course fanning out, joints opening, a kerb leaning, or a line of moss where water is sitting. This is a field guide to the six restraint mistakes that cause the trouble, and how to put them right before the whole driveway has to come up.
What an edge restraint is meant to do
A restraint is not decorative. It holds the outer blocks in place, transfers vehicle loads into the sub-base and stops the paving from creeping sideways. Block paving is an interlocking system, but the interlock only works if the perimeter is held. Take away that support and the blocks start to spread, especially where wheels turn or brake.
Six failures you can spot from the pavement
1. The missing or buried edge
Look for a soldier course that has fanned, gaps at the margin or grass growing between the blocks. Sometimes the restraint is there but has been buried by soil or turf, so it is doing nothing. The edge should be visible, flush with the paving and supported behind. If you can push a finger into the gap behind the blocks, it is not restrained.
2. The mortar smear
A thin line of mortar pointed against the edge is not a haunch. A proper haunch is concrete, placed against the back of the restraint and taken down to firm ground. For most domestic driveways, allow at least 100mm wide by 100mm deep; for vehicle overrun, go bigger and bed the restraint on concrete. If the haunch is sitting on topsoil or loose spoil, it will crack and settle.
3. Plastic edging on a vehicle overrun
Flexible plastic edging has its place on footpaths and light garden edges. It is not a good choice where a car will cross it, especially on a curve. Use concrete kerbs, steel edging or a heavy-duty restraint designed for vehicle loads. The fixing pins must go into a compacted base, not just the bedding sand.
4. Curves and corners left unsupported
Curves are where restraints fail most often. Short cuts, butt joints and gaps behind the edging leave the curve free to move. Every unit should be cut to fit tightly, with a continuous haunch behind it. On a tight radius, use smaller units or a purpose-made radius restraint. If the edge looks like a row of loose teeth, it is already failing.
5. Restraint perched on topsoil or loose spoil
A common DIY error is to lay the edging on the existing garden soil and hope the haunch will hold. It will not. Excavate to a firm base, compact it and bed the restraint properly. On clay soils, make sure water can drain away from the haunch; frost and trapped water will lift and crack it.
6. Openings and dropped kerbs left as weak spots
The ends of a restraint need returns. Where a driveway meets a dropped kerb, a bin store or a path, the edge must be tied in, not simply stopped. Look for blocks spreading at the entrance, a kerb that has moved forward, or a gap between the paving and the road. These are the places where a small failure becomes a trip hazard.
Reading the symptoms
From the pavement, check for:
- joints opening by more than 3mm
- blocks rocking when you stand on them
- a soldier course that is no longer straight
- the edge dropping below the paving
- a moss or weed line along the margin
- cracked or crumbly concrete behind the edge
- a kerb leaning towards the road
Any one of these is a warning. Two or three together mean the restraint has probably gone.
Specifying the right restraint
For footpaths, a plastic edge or timber board can be enough if it is fixed securely. For driveways, use a concrete kerb, steel edge or heavy-duty system, bedded and haunched in concrete. Set the restraint flush with the paving, or slightly below if the design calls for it, and keep the haunch continuous around curves, corners and openings. Do not mix loose sand and a few dabs of mortar and call it a day.
Repairing early failures
If only the outer row or two has moved, lift the affected blocks, remove the old haunch and re-compact the base. Re-bed the restraint, haunch it properly, then re-lay the blocks and re-sand the joints. Compact the repaired area and check the fall. If the movement runs several rows in, or the sub-base has failed, a partial repair will be a sticking plaster. That is when a full re-lay is the honest answer.
Trade checklist for tomorrow
Before you quote, walk the perimeter. Check the ends, the curves, the openings and the dropped kerb. Photograph the failures and specify the restraint by type, not just edging. A driveway that is held at the edges will last; one that is not will keep sending you back.