Drains Before Slabs: Planning Patio Covers That Still Lift
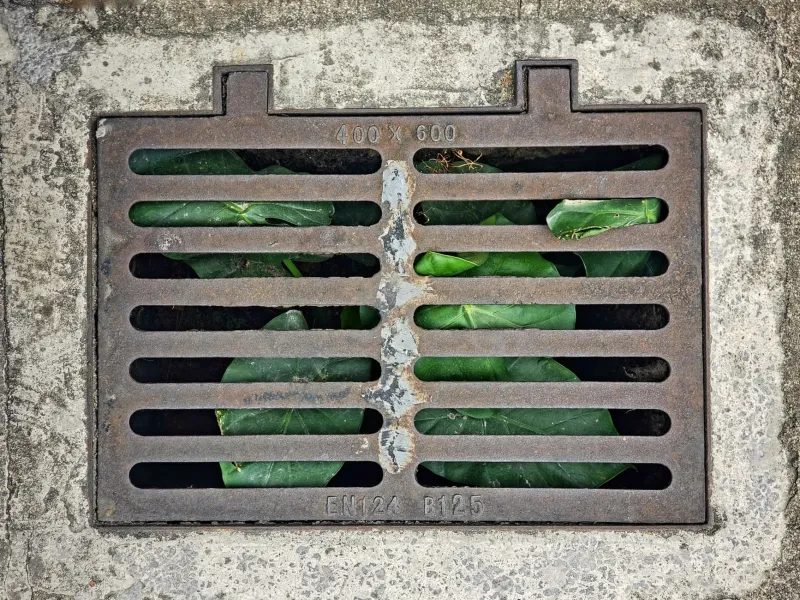
Most patio projects hit the same awkward moment: the layout looks lovely on paper, then someone lifts a bit of turf and finds a square cover sitting exactly where the best seating area was meant to go. The temptation is to pretend it is not there. That is how you end up with a sealed shut chamber, a trip hazard by the back door, or a rodding eye that disappears under three bags of jointing sand.
Covers are not a detail you sort out after the slabs arrive. They affect levels, falls, bedding depth and access. Get them right early and they almost vanish into the patio. Get them wrong and they become the thing everyone notices.
First, work out what you are actually dealing with
Not every cover is the same. An inspection chamber cover is there so a person can lift it and inspect or rod the drain below. A rodding eye is usually smaller and gives access for drain rods. There may also be a water stop tap, a gully, or a utility cover for something else entirely.
Each one needs to remain accessible. That sounds obvious, but patios regularly swallow rodding eyes because they are smaller and easier to ignore. If a cover has a screw cap or a lifting key, it needs to stay liftable. If it is a chamber, the frame needs to take the weight of whatever sits on it and the cover needs to come out without half the patio coming with it.
Before anyone starts setting out, check who owns the drain. In England and Wales, some private drains and sewers are the responsibility of the water company, and there are rules about building over or near them. Scotland has its own arrangements. If you are unsure, ask the water company rather than guessing. It is much easier to ask now than to explain later why the chamber is under a fixed bench.
The three usual ways to marry paving and covers
Recessed tray covers
A recessed tray is the neatest option for a patio. The frame sits in the paving and the cover has a tray that takes cut pieces of the same slab. Once filled, it blends in far better than a plain metal lid.
The tray needs enough depth for the paving. Some take 20 mm, some take more, and porcelain or thick stone can push you towards a deeper tray. The cut pieces should be bedded so they do not rattle, but the tray drainage holes must stay clear. If someone points mortar into the tray and blocks the weep holes, water sits in the recess and starts looking grim within a season.
Recessed trays also need a sensible cut layout. Tiny slivers of slab around the frame look fussy and are more likely to work loose. Set the cover out so the paving bonds around it make sense, rather than treating it as an afterthought.
Raised frames
A raised frame lifts the cover above the patio surface. It is easy to access and can be useful where the paving depth is tight or the cover needs frequent attention. The downside is obvious: it is a lump in the patio. Put one in a main walking route and you have created a trip hazard, especially where the patio steps down to a garden.
Raised frames work better in a corner, against a wall, or in a planted edge where nobody is likely to catch a toe. They still need to drain. The frame should be bedded solidly and the paving should fall away from it, not towards it. If the frame sits proud and water ponds against it, you have built a small paddling pool for the drain.
Cut-and-fit paving details
This is the budget option: cut a slab to fit over the cover, or bond a paving piece to the lid. It can look fine from standing height, but it is fragile. Thin cuts crack, adhesive fails, and lifting the cover later can damage the slab or the frame.
It is not suitable for a cover that needs regular access, and it is a poor idea on plastic covers that flex. If you go down this route, use a proper lifting arrangement and accept that the cover may need a new paving piece when it is opened. Do not drill or screw into a cover without checking what it is made of and whether that is allowed.
Falls, bedding and the layer beneath
A patio should fall away from the house, typically somewhere around 1:80 to 1:100, depending on the paving and the design. A cover interrupts that fall. The cover itself should sit flush with the surrounding paving, not proud and not sunk. The frame needs to be bedded on a firm mortar bed and haunched where appropriate so it does not rock when someone stands on it.
The tricky bit is water. A recessed tray has its own small drainage path, but that only works if the weep holes are clear and the tray does not become a sump. Around the frame, the paving should continue its fall rather than flattening off. If the cover sits at a low point, consider a channel drain or adjust the layout so water has somewhere to go.
Also think about bedding thickness. A cover frame can force the paving up or down slightly. That change in level needs to be worked into the falls, not fixed with a fat mortar bed on one side. Thick beds under a small area are a recipe for movement and hollow spots.
Access, weight and the future
Keep the lifting key. Keep two. Store them somewhere sensible, because the day you need to rod the drain is not the day to be hunting through the shed. Do not seal a cover shut with jointing compound, adhesive or paint. Do not park a planter on it and forget it is there.
Load class matters. A cover in a pedestrian patio is not the same as one in a driveway. If a vehicle might cross it, even occasionally, specify a cover that is rated for it. A lightweight cover that flexes under a wheel will not last, and the paving around it will not either.
What to ask the contractor to specify
Before the first slab is laid, get the cover details in writing. Ask for the make and model, the load class, the dimensions, the recess depth, the frame material and how the frame will be bedded. Ask how the tray will drain, what lifting key is supplied, and how the paving falls will work across the cover.
Ask who supplies the cover and who fits it. Ask what happens if the cover needs to be raised or lowered to suit the patio. Ask how the joints around the frame will be finished, and what warranty applies. If the drain ownership is unclear, ask the contractor to confirm they have checked it before building anything around it.
A good patio does not hide its drains by making them impossible to reach. It absorbs them into the design so they look tidy, drain properly and still open when they need to. Sort that out at setting-out stage and the cover stops being a problem. Leave it until the end and it becomes the detail that spoils the job.