The Edge You Leave Unpaved: Designing Patios That Can Still Be Maintained
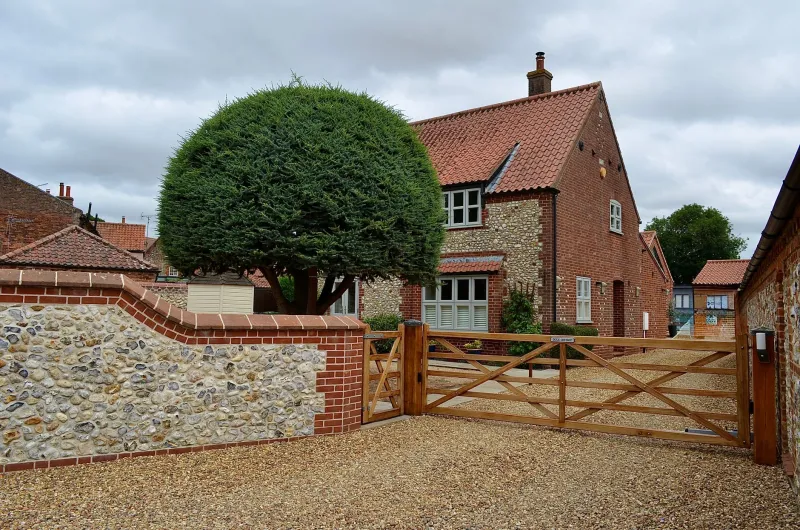
Most patios are designed from the house outwards: threshold, slabs, maybe a step, then whatever space is left at the boundary. That last strip often gets paved simply because it looks tidy and the job is already underway. It is only later, when a fence panel needs replacing or a drain needs rodding, that the tidy edge starts to feel like a trap.
The 600mm rule is a useful prompt rather than a building regulation. It says: before you fill every inch to the boundary with slabs, ask what access you might need in five, ten or twenty years. A strip around 600mm wide is enough for a person to kneel, a spade to work and a fence panel to slide out. It is not the right answer everywhere, but it deserves a place in the conversation.
Why the last half-metre matters
A patio edge is a hard boundary. Slabs meet a wall, a fence, a raised bed or a neighbour's boundary, and the details get compressed into a narrow zone. That is where rainwater splashes, leaves collect, weeds find a gap and downpipes discharge. It is also where you need to stand when you paint a fence, clear a gully or check a damp-proof course.
In UK gardens, the pressure on that edge is real. Walls have a damp-proof course that should stay above external ground level, usually with a clear margin. Fence posts sit in ground that moves with wet winters and dry summers. Clay soils can be unforgiving. A paved strip tight to a boundary does not automatically cause these problems, but it removes the easy access needed to spot and sort them out.
What the gap actually protects
A maintenance margin is not wasted space. It is working space.
- Walls and damp-proof courses. Keeping paving and gravel levels sensible near the house helps protect the DPC and reduces splash staining. A gravel or planted strip gives you room to inspect the base of the wall without lifting slabs.
- Fence posts and panels. Fence panels are easier to lift out when there is a firm, unpaved strip beside them. Posts can be checked, braced or replaced without cutting back a patio.
- Drainage and services. Rodding eyes, gullies, channel drains and inspection chambers should be reachable. So should the route of any cable, water pipe or drainage run that might need attention later.
- Future repairs. If an edge slab settles or a joint fails, an unpaved margin means you can lift and relay without destroying a border or cutting out a neat paving detail.
- Air and movement. A planted or gravel strip allows a little more ventilation and flexibility at the boundary than a sealed slab-to-wall junction, which is useful around older walls and timber fences.
Detailing a margin that looks intentional
The trick is to design the strip rather than leave it as an afterthought. A scruffy gap looks like a mistake. A deliberate margin looks like part of the layout.
Gravel margins
A washed gravel strip is the simplest option. Use a geotextile membrane, a restrained edging and an angular gravel rather than round pea gravel, which migrates. Around 10–20mm gravel is comfortable underfoot and easy to rake. Keep the strip about 600mm wide where access matters, and narrower where it is purely decorative. Make sure the gravel level does not sit above the DPC or block air bricks.
Planted borders
A narrow border of low grasses, lavender or hardy perennials softens the patio edge and gives you a clear visual reason for the unpaved strip. Leave a small gap between planting and a timber fence for air and maintenance. If the border sits near a wall, choose plants that cope with drier conditions and avoid piling mulch above the damp-proof course.
Removable edging
Steel, aluminium or sett edging can hold a gravel or planting strip neatly. In places where you might need occasional access, consider a section of edging that can be lifted or a detail that allows a panel to be removed. It is much easier to plan this at the setting-out stage than to retrofit it later.
Service access
If a manhole, rodding eye or inspection chamber falls near the patio edge, do not bury it under a fixed slab. Use a recessed cover, a discreet chamber cover or a removable paving unit. The same applies to outside taps, downpipe shoes and any future cable route. A little forward planning here saves a lot of cursing later.
When a tight finish is genuinely right
There are plenty of UK gardens where a 600mm margin is a luxury. A small urban courtyard may have no spare room at all. A patio may need to run tight to a boundary because the garden is narrow, the levels are tight or the paving is fulfilling a level access requirement. In those cases, the answer is not to force a margin that ruins the layout.
The answer is to compensate with better detailing: linear drainage instead of a hopeful fall, accessible covers, sealed joints where appropriate, careful levels below the DPC, and a realistic plan for how you will maintain the edge. A tight patio can work, but it needs more thought, not less.
Setting it out before the slabs arrive
Draw the margin on the plan before you order anything. Decide what it is for: access, planting, drainage or simply a visual break. Set the finished levels so water still falls away from the building. Detail the edging so the gravel or soil stays where it should. And check that the strip does not become a trip hazard or a place where leaves gather and block a drain.
A 600mm strip around a typical patio is a small percentage of the overall area. It may reduce the paved area slightly, but it can also reduce the number of slabs, cuts and awkward edge details. More importantly, it keeps the important parts of the garden reachable. The best patios are not just the ones that look good when they are finished. They are the ones that can still be looked after when the first fence panel goes.